Showing posts with label hobby. Show all posts

Sunday, June 7, 2015

Cessna 182 landing gear finished

So I finally got around to finishing the printed landing gear for my Cessna. I originally wanted to print a mount for the support struts, but I decided against it, since I did not trust the connection by epoxy straight onto the side of the fuselage.

Instead, I went for a tested and tried combination of BBQ skewers and rubber bands, and the result feels way more solid than I'd hoped for. Take a look at the video to see the abuse it handles. I may need to add a second pair of rubber bands across to stiffen up the suspension, but all in all I am very satisfied with how the gear assembly performs!


Wednesday, May 13, 2015

Cessna landing gear

Just a quick update on the printed landing gear project. I finally got around to printing my gear design, and mounted it on the Cessna, which by now has been through more repairs than Michael Jacksons nose. Anyhow, the gear fits well, and seems to have an adequate amount of suspension. It is not too soft, as I feared. Tomorrow, or this weekend, I will test it out.


Monday, May 11, 2015

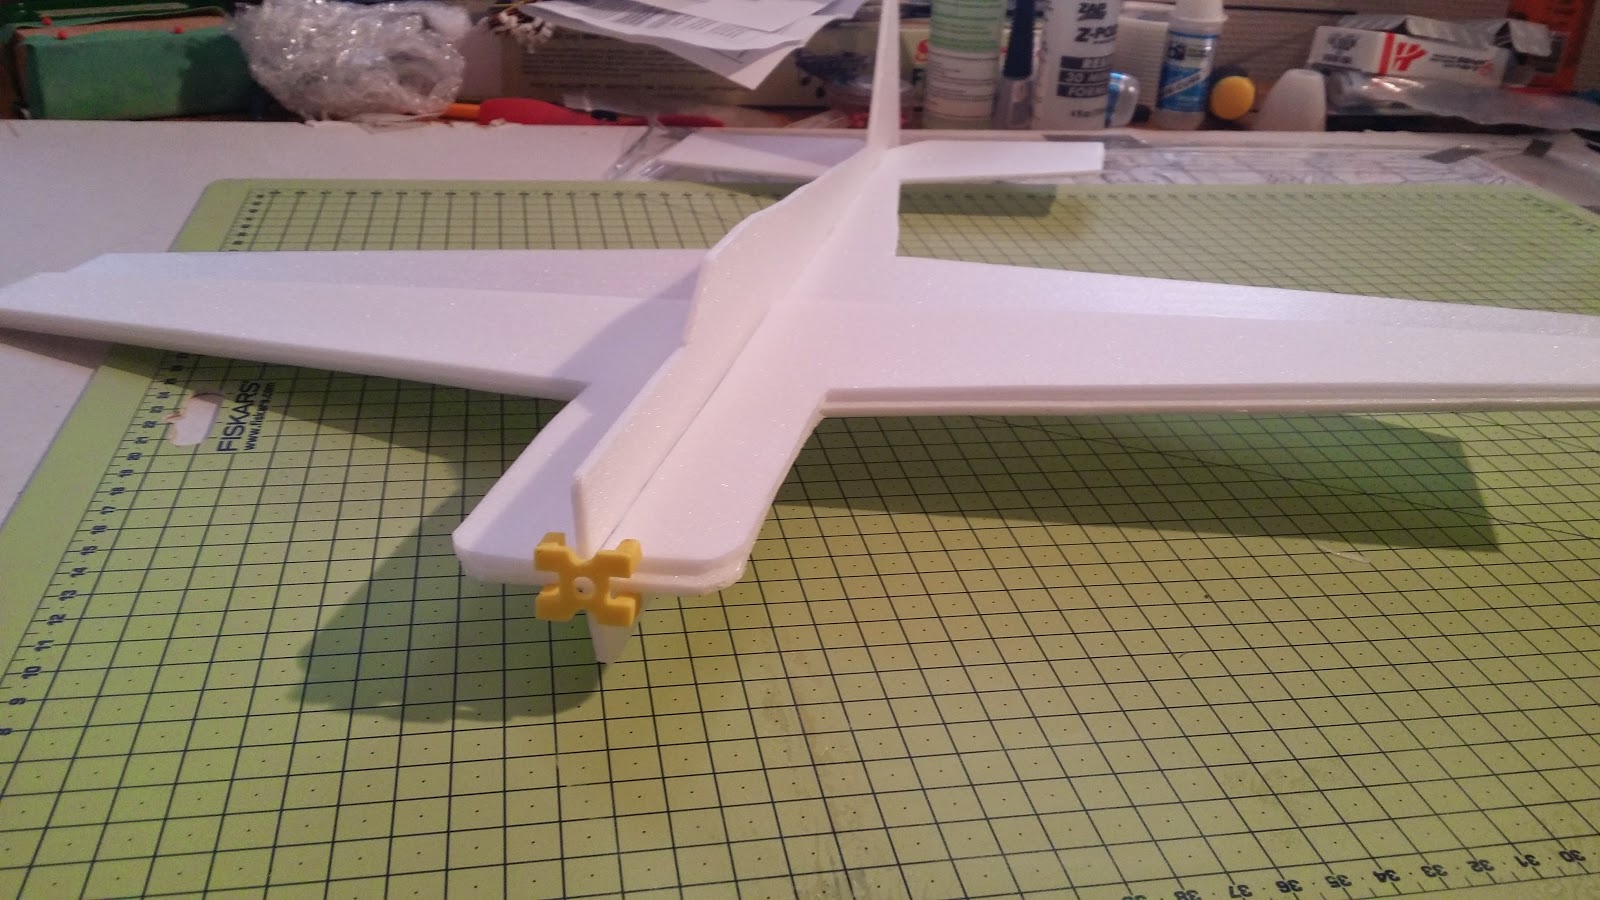
Custom plane design revision 1

After playing around with building the RCPowers foam jets for a while, I decided to make an attempt at creating my own plane. I started fiddling with some plans, and made the first iteration last Sunday. The specifications are loosely as follows:

wingspan: 50cm
length: 45 cm
engine: 10g outrunner
ESC: 6amp generic Ebay
battery: 450mah 2S lipo
servos: 4x3.7g 

Assembling the plans
Anyone who has built an RC foamie before should recognize the steps here. I printed the plans in poster mode, which means you have to manually tile them together. Not too much work.

All the parts cut out and ready for assembly
First test assembly (no glue)

With all the plans cut out from 3mm depron, I put them together without glue, to make sure everything fits well. At this stage, I realized that the plane might actually fly.

Gluing with epoxy, making sure things are relatively 

I glued all the foam parts in place using 30 minute epoxy. It's slower than hot glue, and I'm not sure the added strength gives much of an advantage considering the breaking properties of depron (hint: it breaks.  A lot.), but it should in theory save a few grams, and is a lot less messy.

3D printed control horns!

After gluing the parts, I finally mounted the power plant and the RC equipment. It really paid off having access to a 3d printer for the custom engine mount, but off-the-shelf stuff, or a plywood cutout should work just fine.

Mounting the engine

And finally, a video of the first prototype. 


I did not yet maiden this plane, since I'm waiting for a really calm day. It's very light and most likely handles wind as well as Titanic handled icebergs.

Monday, September 15, 2014

Hot glue gun controller

As much as you wish to build all your foam models with epoxy and other light weight glues, sometimes you just really want to use hot glue for a quick bond. Unfortunately, if you're using a cheap glue gun, as I do, it's more than likely that it doesn't have a thermostat to control the temperature. And, when working with a material such as depron, this usually means that at some point, the glue is going to melt the foam.

After several hours of cursing and (ignoring) waiting for the glue to cool off to a usable state, I finally decided to do something about the issue. Now, the cheap and probably smart way to do this is to use a dimmer switch, and lower the current by increasing the resistance of the circuit through the gun.

However, that somehow did not seem like the most interesting way to solve this problem to me. So, ignoring the obvious solution, I decided to finally learn some electronics and make an Arduino-based feedback controller.

You can get these really cheap on Ebay, and they seem to be working just fine
My original idea is quite simple, connect a temperature sensor to the glue gun, and use a relay to control the power to the gun. As the plan grew (and I continued ordering semi-random components from Ebay), I also added a volume knob to control the target temperature, and an LCD screen to show the current status. For this project, I'm using a really cheap Chinese Arduino Nano.

One of the early breadboard prototypes

So, ordering all the components I needed from Ebay, I started designing the circuit. It's fairly simple, but being the electronics novice that I am it took me a few tries to solder everything together in a proper fashion (I also had some soldering iron issues along the way, so it needed to be replaced).

One of my early attempts at designing the circuit. It's still missing a few parts at this stage

Basically, I have a thermistor rated for up to 290°C attached to the hot end, and using a voltage divider I'm reading the temperature at the tip of the nozzle. I then compare this to the temperature set through a rotational potentiometer (a volume knob). When the current temperature reach the set limit, the controller will go into a cooling mode. This kills the power usign the realy, and waits for the temperature to drop 3°C before turning the power back off. These two values are displayed on the 20x4 LCD screen.

After attaching the arduino nano to the breadboard

I designed a box to fit everything in and cut it out from 4mm plywood. I made the casing wide enough to be able to rest the gun either on the sides, or along the back edge of the top plane, but I haven't decided exactly where to put the holder for it yet.

Project box top plane with fittings for the volume knob and a 20x4 LCD screen


The last issue that still has to be solved is how to properly attach the thermistor to the nozzle of the gun. Right now, I'm using a heat resistant silicone, but it has almost no thermal conductivity, causing the thermistor to heat and cool off slowly, leaving an undesired delay. I have ordered some kapton tape, and hopefully that will solve the issue.

Almost finished, just need to fix the thermistor attachment


I'll come back with some pictures of the finished assembly, especially the thermistor attachment, as I'm excited to see how the kapton works out when I finally get it. For now, I'm quite happy having a pretty cool way to control the temperature of my hot glue gun.

Sunday, September 14, 2014

Foamie flight trip

I took my most recent plane, the RC Powers SU-34 and the F18, both from the V4 package, out for a spin this Sunday. The weather was calm, and the planes performed admirably.

Unfortunately, the wind increased throughout the day, and gave the F18 an unintended landing in some shrubbery. Luckily, it survived without any major damage. And I could probably have salvaged the situation had I remembered switching to 4x4 when the plane started stalling. Ah well, at least there were no dead toddlers with very recognizable aircraft sticking out of their skulls this time.

My previous concerns about the SU-34 stability seems to have been related to a faulty flap-to-elevator mix, causing it to wobble during the launch and transition to normal flight mode. Even with my less-than-perfect duct tape emergency fixes from the maiden trip, I at no point felt the plane doing anything I did not want it to do.


Additionally, I lost no canards today, which is good. Nobody likes losing canards. Especially not at the checkout counter of the grocery store. That sucks. Big time. Really.

All in all, I am very happy with both planes, although I still favour the F-18 purely on an aesthetics preference basis!

Part of me was hoping for a catastrophic crash today, so that I could take on the MIG-29 from the V4 package, but alas, it will have to be postponed yet another week.


F18 V4


Our favourite game: Find the plane and pray it's not deformed into grey goo!

If only I remembered the 4x4 when it counts...