Monday, October 31, 2016

Small EDF racer

Every now and then, you just feel an unexplained need to drive something around your kitchen floor. When this feeling hits, it's nice to have enough depron and RC equipment ready to just whip something together on the fly.

One hung over Saturday, I felt the urge sneaking up on me, so I sat down with Fusion 360, and made the plans to make a small floor racer, using an EDF I got from ebay, and some other leftover parts.


Here are some pictures of the process:


Wednesday, July 6, 2016

Building an airbrush painting station

Last Christmas, I decided to design and construct a paint station for airbrushing, and overall painting of models and gaming miniatures.

The basic idea was a to make a 3-sided area with a lid, that had enough suction in it to clear out the airbrushing mist. The three side sections should have shelves suitable for storing paints and other materials, easily accessible while painting - and for transportation of the unit.

Finally, there should be sufficient lighting embedded in the lid for painting without an external light source.

As an additional challenge for myself, I decided to try and assemble the main parts without using screws or nails. Instead, it is using wooden pegs and glue.

As a bonus touch, I added a handle for carrying. the whole unit.

The final station, with paints and tools in place.
The build turned out to be quite a success. The suction from the two bathroom fans is enough to create a low pressure area inside the box, making the paint fumes flow out. I added two flexible tubes to the fans that lead the exhaust out the window, this is not shown by the pictures.

Also, the lighting from the 4 LED bulbs is perfect for painting. Even in an otherwise unlit room, it is pleasant to work within this space.

Thirdly, the unit is perfect if you have limited space, and can not always have your paints and tools out. Just fold the parts together, and store it under your bed - with paints and everything inside.

Lastly, here are some pictures from the build process:


Sunday, June 7, 2015

Cessna 182 landing gear finished

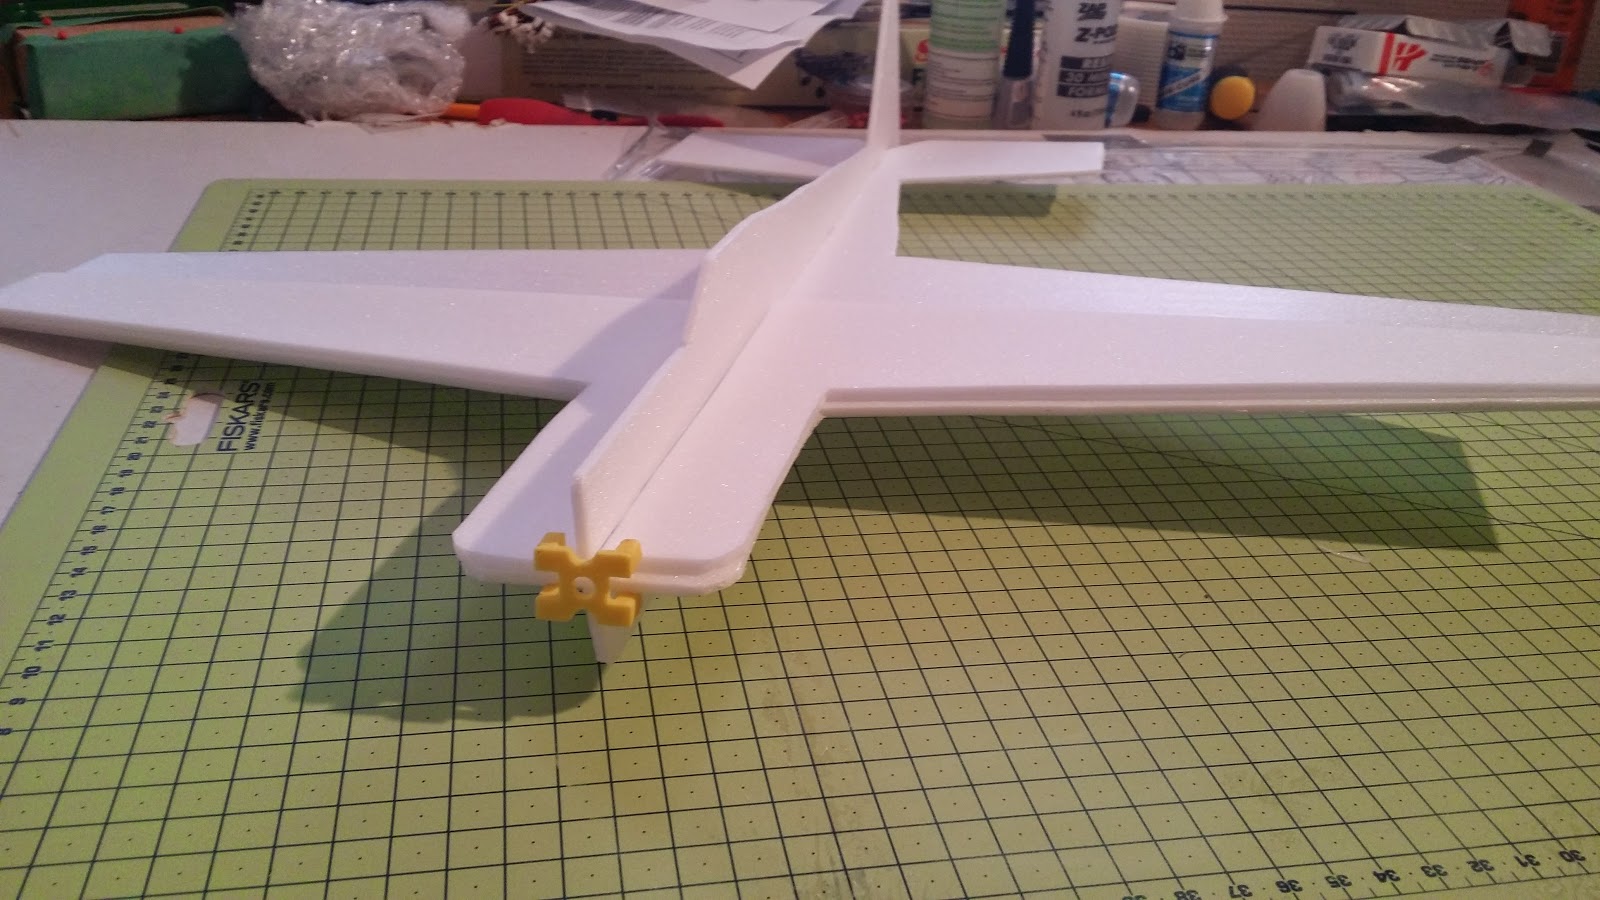
So I finally got around to finishing the printed landing gear for my Cessna. I originally wanted to print a mount for the support struts, but I decided against it, since I did not trust the connection by epoxy straight onto the side of the fuselage.

Instead, I went for a tested and tried combination of BBQ skewers and rubber bands, and the result feels way more solid than I'd hoped for. Take a look at the video to see the abuse it handles. I may need to add a second pair of rubber bands across to stiffen up the suspension, but all in all I am very satisfied with how the gear assembly performs!


Wednesday, May 13, 2015

Cessna landing gear

Just a quick update on the printed landing gear project. I finally got around to printing my gear design, and mounted it on the Cessna, which by now has been through more repairs than Michael Jacksons nose. Anyhow, the gear fits well, and seems to have an adequate amount of suspension. It is not too soft, as I feared. Tomorrow, or this weekend, I will test it out.


Monday, May 11, 2015

Custom plane design revision 1

After playing around with building the RCPowers foam jets for a while, I decided to make an attempt at creating my own plane. I started fiddling with some plans, and made the first iteration last Sunday. The specifications are loosely as follows:

wingspan: 50cm
length: 45 cm
engine: 10g outrunner
ESC: 6amp generic Ebay
battery: 450mah 2S lipo
servos: 4x3.7g 

Assembling the plans
Anyone who has built an RC foamie before should recognize the steps here. I printed the plans in poster mode, which means you have to manually tile them together. Not too much work.

All the parts cut out and ready for assembly
First test assembly (no glue)

With all the plans cut out from 3mm depron, I put them together without glue, to make sure everything fits well. At this stage, I realized that the plane might actually fly.

Gluing with epoxy, making sure things are relatively 

I glued all the foam parts in place using 30 minute epoxy. It's slower than hot glue, and I'm not sure the added strength gives much of an advantage considering the breaking properties of depron (hint: it breaks.  A lot.), but it should in theory save a few grams, and is a lot less messy.

3D printed control horns!

After gluing the parts, I finally mounted the power plant and the RC equipment. It really paid off having access to a 3d printer for the custom engine mount, but off-the-shelf stuff, or a plywood cutout should work just fine.

Mounting the engine

And finally, a video of the first prototype. 


I did not yet maiden this plane, since I'm waiting for a really calm day. It's very light and most likely handles wind as well as Titanic handled icebergs.

Thursday, April 16, 2015

Spitfire construction, part 1

I started building the spitfire kit this week. I acquired a plaster plate from the local hardware store, which made for a lot more stable building surface than my old scavenged cork board.

I am concerned about the reliability of the linear servos I got from ebay, but otherwise the build is going OK.


I printed a pair of servo holders, since there's an IC on the underbelly of the servos, making direct attachment to the balsa impossible.